| Legal Information |
|

Place the prepared floppy disk in the system to be tested and boot the system either by powering off then on or pressing the reset button or by pressing the
When the system restarts you will be offered a menu with two options
By default option 1 is selected, this will take you to a second menu screen where you can select from a range of SCSI Controller manufacturers.
Note: the default on the second menu is to load ASPI's to support Adaptec, Buslogic, DPT and INITIO Controllers, if the relevant SCSI controller is not installed in the system an error message may be displayed on the screen. This is normal and isn't a problem.
Select option 2 if you have only or wish to test only ATA and/or Serial-ATA drives.
DFT will load automatically and present you with the License Agreement. This licence agreement should be reviewed prior to accepting using the “I Agree” button.
The positioning and tab keys can be used to navigate through the licence agreement and also the button selection.
The program will progress only if you accept the license agreement by selecting the ‘I agree’ button. DFT will then analyse the connected drives and display to the screen below.

If the drives in the list represents what you know to be installed in your system then you should press the Yes button, after which you will be presented with the main DFT Test Menu,
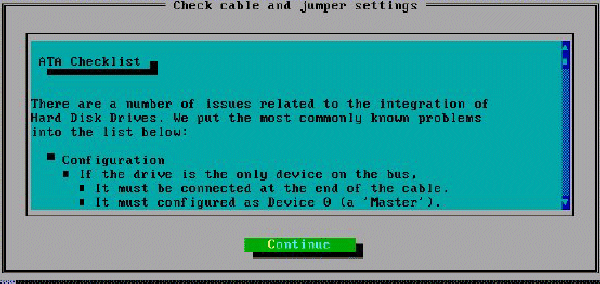
If the list doesn't contain the drive(s) that you wish to test then select No, you will be presented with the screen below. This window provides information about cabling and jumper settings, which could have prevented your drive from being detected, please power-off your system and check that your drive is correctly installed and re-start the DFT test.

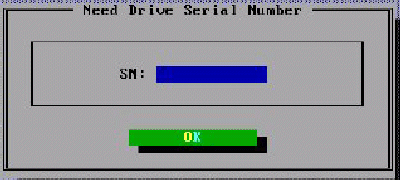
NOTE: the following applies for non-detected Hitachi/Legacy IBM drives only If you have made all the checks and your drive is still not detected then press the continue button, after which you will be presented with the following screen, type in the serial number of the drive that DFT failed to detect and press OK to continue.

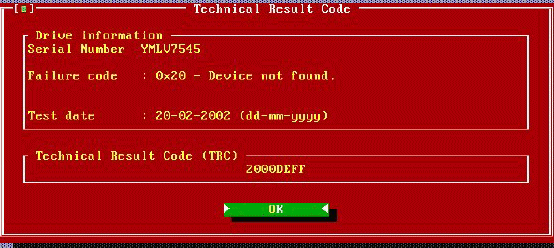
The following screen shows the Technical Result Code window. This window contains information that you will require in order to use the Hitachi web based warranty process or when calling the Technical Support Centre. Please make record this information and press OK when finished. If this is the only Hitachi Global Storage Technology or Legacy IBM drive in your system or the only drive you wished to test when the main DFT Test Menu is displayed you can exit the program and shutdown your machine.

The following shows the main DFT Test Menu screen,

Quick Test
Advanced Test
UtilitiesErase Boot SectorErase DiskRepair Sector
ATA functions
Error codes and actions
Testing of Non-Hitachi/IBM Hard Disk Drives
Troubleshootng
| Search Knowledge Base | Feedback |