
| Legal Information |
|

The following diagram illustrates how the router connects to the network.
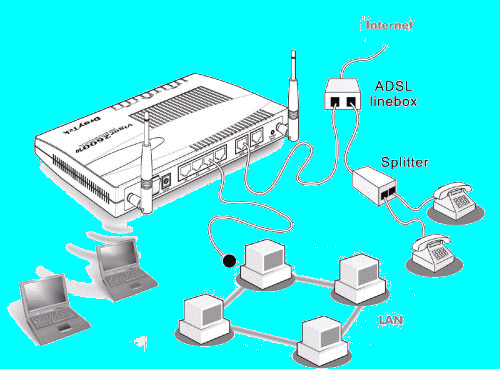
The router doesn't have a serial port and the only way to configure it is using a network connection but this is the case with many routers.
Users of Microsoft Windows should find the setup of the router even easier with the Smart Start Wizard on the CD-ROM that sets up the connection to the router via the ARP protocol making it easy to install if your local network does not currently use the 192.168.1.0/24 range of IP addresses.
With Windows XP the message "Your windows does not support this tool" message is shown. This simply means you have to configure the IP address manually and won't affect the use of the router beyond the two minutes it takes to change the IPs. If you already have an existing network, use the Smart Start Wizard to configure the router with an IP address. Otherwise, just let your computer obtain an IP using DHCP.
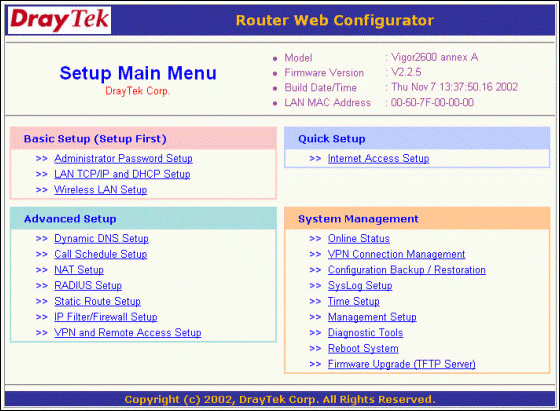
Once configured, you need to do some basic steps on the web setup. Go to the router's website (http://192.168.1.1 or whatever the IP you have assigned is). You will be asked for a username (admin) and password (leave blank) after which you will be presented with the main menu:

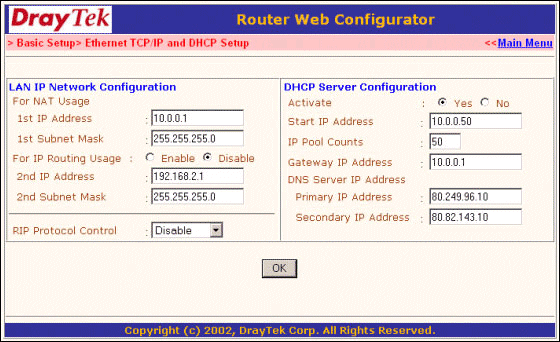
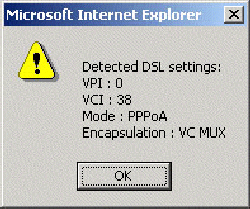
You can set/edit these manually when adding your ISP account details. Type in the ISP name as well as the Username/Password provided by them. Also, you probably want to tick the "Always On" box as there's no reason to disconnect the router when you're not using the Internet. Ignore the fixed IP settings as an ISP will send then to you each time you login anyway.
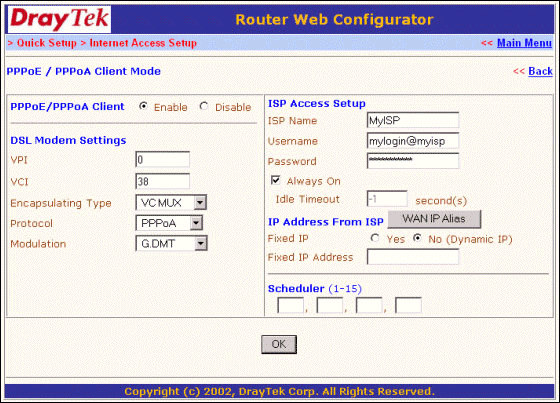
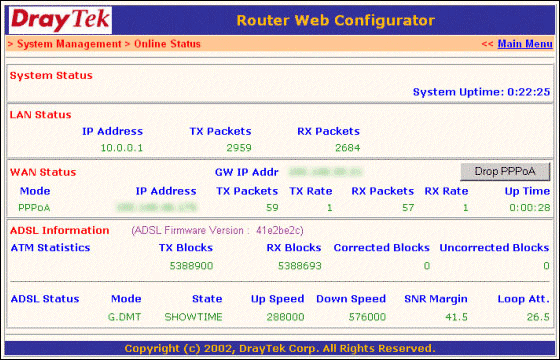
Once you have finished, click OK and then proceed to the Online Status screen (link off the main menu) to see whether you are connected. If not, click "Dial PPPoA" and wait for the screen to update. Once connected, your screen should look something like this:
| Search Knowledge Base | Feedback |